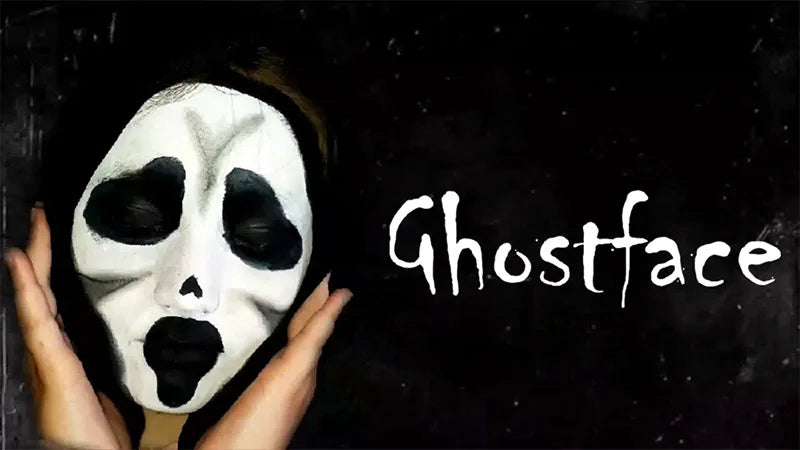
Want to pull off a super spooky look this Halloween? This ghost face face paint tutorial is quick, easy, and perfect for beginners. Just follow these four simple steps, grab your paints, and you’ll be haunting in no time!
Step 1: Paint the Ghost Face Base
Start by covering your face with white face paint. This will be the base for your ghost face. Apply it evenly with a sponge or brush, making sure to get smooth coverage. Don’t worry if it’s not perfect—ghosts are supposed to be a little messy!

Step 2: Fill in the Eyes and Mouth
Next, grab some black face paint and fill in the big, hollow eyes and mouth. Go bold here—the darker, the better. These black areas will give your ghost face that classic creepy vibe.

Step 3: Add Depth Around the Edges
Now, let’s create a cool visual effect. Take your black paint and blend it outward from the edges of the white ghost face. This contrast makes it look like only the white part is your “real” face, and the rest fades into darkness—instant spooky illusion!

Step 4: Shade the Nose and Shadows
Finally, use black paint or even a bit of dark eyeshadow to add details. Outline flipped-up nostrils and add subtle shadows around the cheeks and temples. These little touches make your ghost face look extra realistic and creepy.

The Finishing Touch: Add a Black Cloak
Throw on a black cloak or hooded cape, and you’re ready to float around like a haunting ghost.

Whether it’s for Halloween, a costume party, or just some spooky fun, this ghost face face paint look is easy, fast, and super effective.